NOTION SYSTEMS LAB — LAUNCH OFFER ENDS JULY 16 — 40% OFF BEFORE DOORS CLOSE
How to Add a Column in Notion Kanban Board Easily
Customizing workflows? Learn how to add a column in Notion Kanban board to structure tasks efficiently, improve visual organization, and optimize project management by creating new sections that align with your workflow processes.
5/21/20254 min read
How to Add a Column in Notion Kanban Board
Notion is a powerful tool for personal organization, offering a flexible Kanban board to help users manage projects, tasks, and workflows efficiently.
If you're new to Notion, you might be wondering how to add a column in Notion Kanban board. In this guide, we'll walk you through the steps to do so, customize your setup, and manage your workflow effectively.
Table of Contents
Understanding Notion’s Kanban Board Structure
A Kanban board in Notion is essentially a database view that organizes items into columns based on a selected property. These properties act as group labels, meaning each column represents a value within that property.
By default, Notion provides a Status property when creating a Kanban board. However, you can choose a different property to suit your needs.
How Grouping Works in Notion
Each column in a Kanban board corresponds to an option from a selected property.
The most commonly used property for grouping is Status.
Users can change the grouping property to categories like priority, project type, or assignee.
Notion allows users to display or hide empty groups, which will automatically hide the associated column.
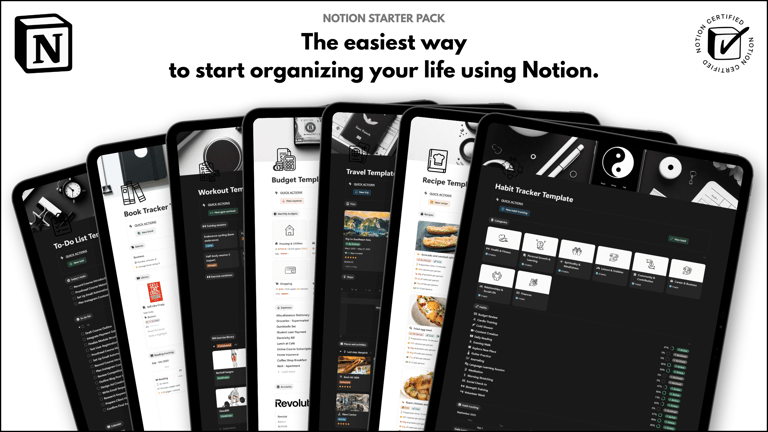
Save hours building from scratch!
Get instant access to 7 free Notion templates with the Notion Starter Pack.
Choosing the Right Property for Grouping in Notion Kanban Board
Before adding a new column, you need to ensure that your board is grouped correctly.
Checking Your Grouping Property
Click on the three-dot menu in the top right of the Kanban board view.
Select Group and check which property is being used.
If needed, change the grouping property to something more relevant to your workflow.
Customizing Grouping Settings
Sorting: Arrange columns based on priority or any other metric.
Hiding Empty Groups: Helps keep the board clutter-free.
Manual or Auto Sorting: Allows users to arrange columns freely or let Notion do it automatically.
Adding a New Column in Notion Kanban Board
Once you’ve set up the right grouping property, adding a new column is simple.
Steps to Add a Column
Click on the property selected for grouping and choose Edit property.
If the property is Status, click on one of the + buttons next to “To-do,” “In progress,” or “Complete.”
Type a new option.
Press Enter, and Notion will create a new column automatically.

Learn more about Notion here.
Organizing and Customizing Your Columns in Notion Kanban Board
Once you've added a column, you can customize its position and functionality.
Rearranging Columns
Drag and drop: Click and hold a column header, then move it to your desired position.
Auto-sort options: Use sorting settings to arrange columns based on priority, date, or any other metric.
Customizing Column Settings
Color Columns: Notion allows users to apply background colors to entire columns for better visual organization.
Filtering Options: Apply filters to show only relevant items within a column.
Locking Databases: While individual columns cannot be locked, entire databases can be locked to prevent accidental changes.
Managing and Removing Columns in Notion Kanban Board
Over time, you may need to hide or remove columns to keep your board organized.
Hiding Columns
Click on the three-dot menu on the board view and select Group to toggle on "hide empty groups".
Alternatively, click on the three-dot menu at the top right of a specific column and select the eye icon (Hide group). This will keep the column hidden until manually re-enabled, even if the group is empty and "hide empty groups" is toggled on.


Looking for alternatives? Explore these apps like Notion.
Deleting Columns
Click on the three-dot menu at the top right of the column.
Select the trash icon (Delete pages).
A confirmation message will appear: "Are you sure? All pages inside this group will be deleted." : click ”Delete” again to confirm.
Alternatively, remove the corresponding option from the property settings, which will also remove the column from view.
Conclusion: How to Add a Column in Notion Kanban Board
Adding a column in a Notion Kanban board is straightforward once you understand grouping properties. Simply check which property is used for grouping, add a new value for that property, and rearrange your columns as needed.
This is exactly how to add a column in Notion Kanban board : by mastering this feature, you can tailor your Notion setup for better personal organization and workflow efficiency.
Unlock the ultimate roadmap to a life in order: simply enter your email adress below and a PDF copy will instantly be sent right to your inbox.
Download your free Notion ebook now!
Join The Movement
Follow Notionbase on social media to stay up to date with Notion... and more!
Links
Master Notion in 5 days.
© 2026 Notionbase. Website by William Coste.
Products